Kitchen Spring Cleaning 101: How to get started
With the weather finally warming up, spring cleaning your house is hopefully the last thing on your mind! But in the spirit of tradition, we’ve collated some handy tips for scrubbing up your kitchen to ready the summer.
With a few easy spring cleaning steps, any kitchen can feel transformed into a calm, tidy space, ready to welcome the spring sun.
Step 1: Start by decluttering
Now it’s spring, everything must have a home! Remove all the ‘loose’ items from the surfaces and put them away. Clutter is a form from visual stress and the less clutter is around the more pleasant it is for the eye. And, whilst you’re at it, do the stress test: do I really need it? Is it ‘sparking joy’? If not, it’s time to go. Find out more about the ‘less is more’ lifestyle and useful tips in this blog article.
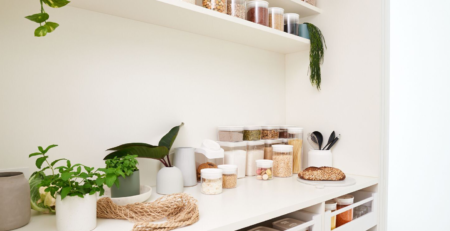
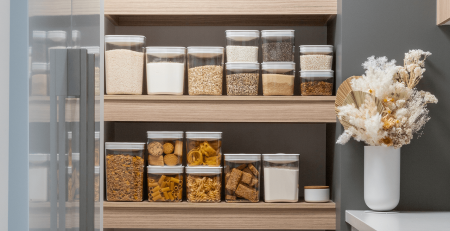
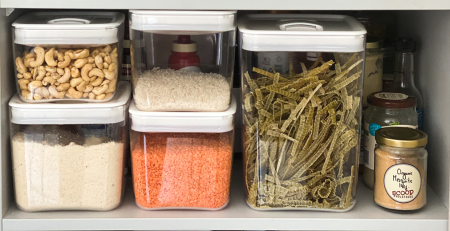
Step 2: Check the expiry dates
Next on the spring cleaning list, open the cupboards and check the best before end dates. Run a hard cull on anything out of date — and anything near the end of its shelf life, bring to the front.
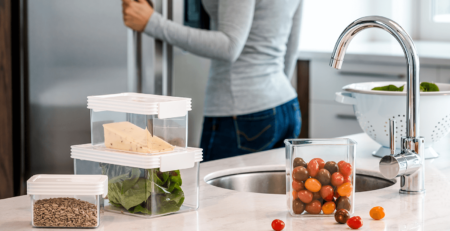
This is a great opportunity to stack your dry goods in some of our fantastic kitchenware from the pantry range. This will give some structure to the pantry and help you organise things logically and neatly. Need help with yours? Check out our Instagram page for some inspiration or read our ‚Pantry Organisation 101‘ article on how to get yours in shape in five simple steps.
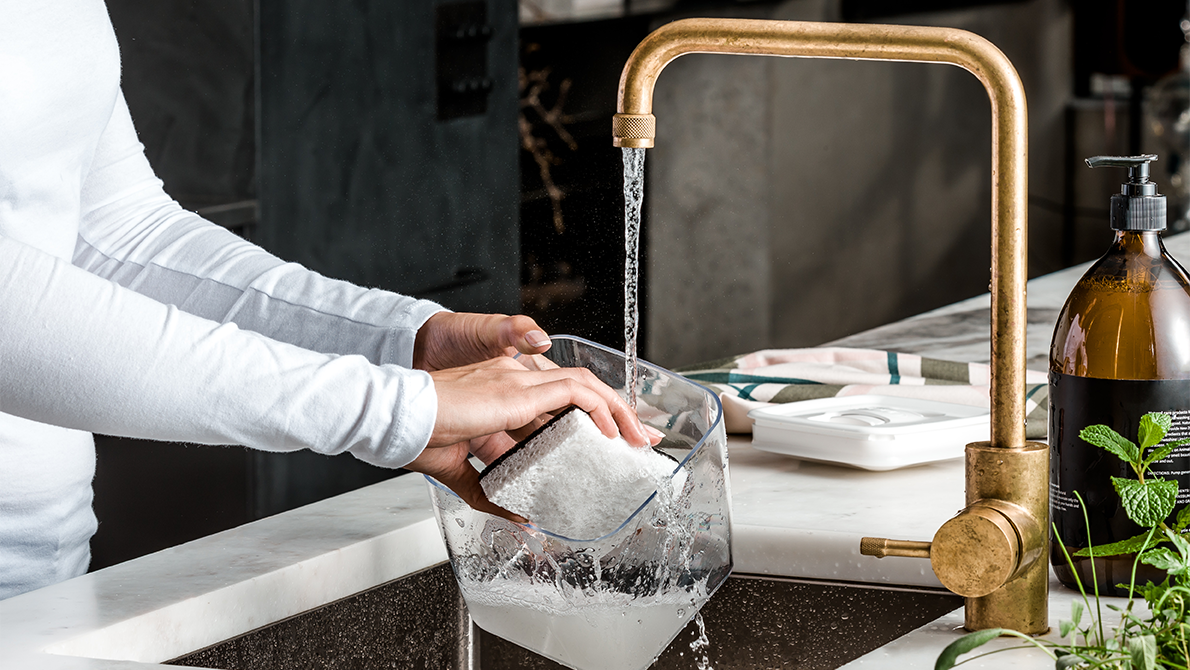
Step 3: Time for deep cleaning
Think all surfaces, floor space, shelves, door handles, light switches, window sills — the whole lot! Empty cupboards of dishes, pots and pans, and don’t forget your gadgets drawers. Sweeping away the dust and getting rid of old spills and stains will be transformative to the space. Let in the fresh air to help breathe some life into the room.
Many people also use this time as an opportunity to wash curtains or wipe down blinds too, as these are infamous dirt traps. Just be sure to tackle this job before embarking on your sweep-up, as you’ll inevitably spread more dust around first.
Step 4: Don’t forget the appliances
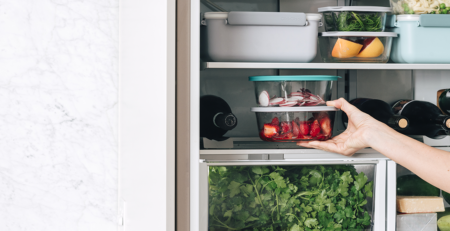
A good spring cleaning session doesn’t only involve dusting and wiping all visible surfaces, but also a thorough cleanse of the not-so-visible ones such as behind the refrigerator. This might be also a great opportunity to whip the fridge interior into shape. A simple step-by-step how-to can be found here. Next, take care of your microwave, oven and dishwasher. Scrub away all dried up food and grease.
Step 5: Relax
After all that spring cleaning, put the kettle on and settle down. If you have an extra 10 minutes, blitz these Bliss Balls up – a delicious treat and well-deserved after all that hard work, if you ask us.


Leave a Reply